
Preheating the Oven
Preheat your oven to 325°F (160°C) for consistent and even cooking of the ham․
Preheating ensures the oven reaches a stable temperature‚ preventing uneven cooking and promoting even browning and glazing․
Recommended Temperature
Preheat your oven to 325°F (160°C) for cooking a Signature Select ham․ This temperature ensures even cooking and prevents overcooking‚ keeping the ham juicy and flavorful․
Importance of Preheating
Preheating the oven to 325°F (160°C) is crucial for even cooking and preventing hot spots․ It ensures the ham cooks uniformly‚ avoiding dryness and promoting a tender texture․ Proper preheating also helps the glaze adhere evenly‚ enhancing flavor and presentation․ Always preheat before placing the ham in the oven to achieve the best results․
Placing the Ham in the Roasting Pan
Place the ham flat side down in a roasting pan with a rack to elevate it‚ ensuring even cooking and proper air circulation․
A rack lifts the ham off the pan bottom‚ preventing it from sitting in juices and promoting even browning and crisping of the glaze․
Positioning the Ham
Place the ham flat side down in a roasting pan with a rack to ensure even cooking․ This position stabilizes the ham‚ preventing it from tipping and promoting uniform heat distribution․ The rack elevates the ham‚ allowing air to circulate underneath‚ which helps in achieving even browning and crisping of the glaze․ Proper positioning also prevents the ham from sitting in its juices‚ reducing sogginess and ensuring a tender‚ flavorful result․
Using a Rack for Even Cooking
Using a rack in the roasting pan is essential for even cooking․ It elevates the ham‚ allowing air to circulate freely underneath‚ which prevents sogginess and ensures uniform heat distribution․ The rack also helps the ham brown evenly and prevents it from sitting in its juices‚ promoting a crispy glaze․ This simple step enhances both the texture and flavor of the ham‚ making it a crucial part of the cooking process․
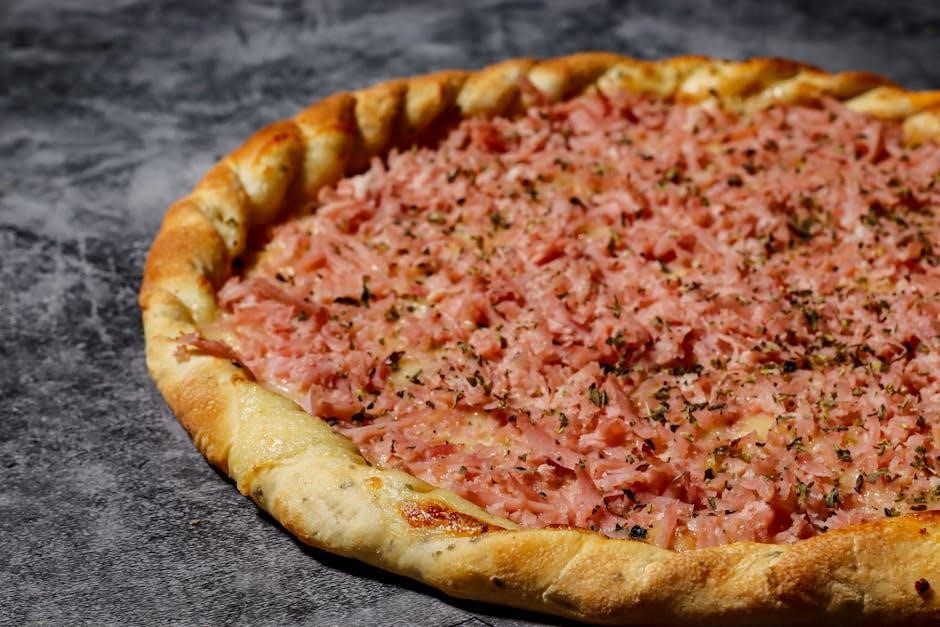
Applying the Glaze
Apply the glaze smoothly and evenly‚ ensuring the ham is fully coated․ Reserve half for serving‚ brushing the remainder during the last 10 minutes of cooking․
When to Apply the Glaze
Apply the glaze 10-15 minutes before the ham finishes cooking․ Remove the ham from the oven‚ brush the glaze evenly over the surface‚ and return it to the oven․ Ensure the internal temperature reaches 140°F for food safety․ For pre-packaged glazes‚ follow the packet instructions․ This step ensures a caramelized‚ flavorful crust without burning․ Use a meat thermometer to monitor the temperature accurately․
How to Apply the Glaze
To apply the glaze‚ remove the ham from the oven 10 minutes before cooking time ends․ Brush the glaze evenly over the surface‚ ensuring it coats all exposed areas․ For a sweeter touch‚ drizzle with honey or maple syrup․ If desired‚ place the ham under the broiler for 3-5 minutes to caramelize the glaze‚ watching carefully to avoid burning․ Use a meat thermometer to ensure the internal temperature reaches 140°F for safety․
Optional Glaze Variations
Elevate your ham with diverse glaze options․ Mix brown sugar‚ honey‚ and mustard for a classic sweet glaze․ Add pineapple juice and cloves for tropical flavor․ For a spicy twist‚ incorporate Dijon mustard and a hint of cinnamon․ Experiment with maple syrup and rosemary for a savory-sweet blend․ These variations enhance the ham’s flavor profile‚ offering a personalized touch to your dish․
Cooking Time and Temperature
Cook the ham at 325°F (160°C) for 10-15 minutes per pound․ For a 5-pound ham‚ this equals about 1-1․5 hours of cooking time․
Use a meat thermometer to ensure the internal temperature reaches 140°F (60°C)․ This guarantees the ham is heated through without overcooking․

Minutes Per Pound Guideline
Cook the ham at 325°F (160°C)‚ allowing 10-15 minutes per pound․ For a 5-pound ham‚ this translates to approximately 1-1․5 hours․ Larger hams may require up to 2․5 hours․
This guideline ensures even heating and prevents overcooking․ Use a meat thermometer to verify the internal temperature reaches 140°F (60°C) for safety and optimal tenderness․
Internal Temperature Check
The internal temperature of the ham should reach 140°F (60°C) for food safety and optimal tenderness․ Use a meat thermometer to check the temperature by inserting it into the thickest part of the ham‚ avoiding the bone and fat․ This ensures even heating and prevents overcooking‚ which can make the ham dry․ Once the temperature is reached‚ the ham is ready to be removed from the oven․
Resting the Ham
Resting allows the juices to redistribute‚ ensuring the ham stays tender and flavorful․
Let the ham rest for 20 minutes before slicing to retain moisture and achieve the best texture․
Why Resting is Important
Resting the ham after cooking is essential to ensure the meat remains juicy and flavorful․ When you slice the ham too soon‚ the juices can escape‚ leading to a dry texture; Allowing the ham to rest enables the internal juices to redistribute evenly‚ enhancing both tenderness and taste․ This step is crucial for maintaining the ham’s quality and preventing it from becoming overly dry or losing its rich‚ savory flavor․ Proper resting ensures a more enjoyable dining experience․
Recommended Resting Time
Allow the ham to rest for 20 minutes before slicing․ This enables the juices to redistribute‚ ensuring the meat stays juicy and flavorful․ During this time‚ the internal temperature should reach 140°F for optimal safety and quality․ Use a meat thermometer to verify the temperature‚ ensuring a perfectly cooked and safe dish․ Proper resting guarantees a tender and delicious ham‚ ready to be served with your favorite sides․
Alternative Cooking Methods
Explore beyond oven baking with a slow cooker or grill․ Slow cookers offer hands-off convenience‚ while grilling adds a smoky flavor․
Cooking in a Slow Cooker
Place the ham flat side down in the slow cooker․ Cook on low for 4 hours․ Baste with juices halfway and 30 minutes before done․
Grilling the Ham
Preheat the grill to medium-low heat․ Place the ham flat side down‚ fat side up‚ on the grill rack․ Cook for 15-20 minutes per pound‚ turning occasionally․ Use a meat thermometer to ensure the internal temperature reaches 140°F․ Brush with glaze during the last 10 minutes of grilling for a caramelized finish․ Keep the grill lid closed to maintain even heat and prevent burning․ This method adds a smoky flavor while keeping the ham juicy․
Safety Tips
Use a meat thermometer to check the internal temperature‚ ensuring it reaches 140°F to avoid drying out the ham․
Always use oven mitts or tongs to handle the ham‚ as it may be hot and slippery after cooking or glazing․
Avoiding Overcooking
Overcooking can dry out the ham‚ making it tough and less flavorful․ Always use a meat thermometer to monitor the internal temperature‚ which should reach 140°F for safety․ Avoid relying solely on cooking time‚ as this can vary based on the ham’s size and oven performance․ Check the temperature in multiple areas to ensure even cooking‚ especially near the bone․ Remove the ham from the oven once it reaches the target temperature to prevent overcooking and maintain moisture․
Handling the Ham Safely
Always handle the ham with clean utensils and gloves to prevent cross-contamination․ Ensure the ham is stored in a sealed container at 4°C (39°F) before cooking․ After cooking‚ let the ham rest before slicing to retain juices․ Use a sturdy carving fork and sharp knife to slice evenly․ Never leave cooked ham at room temperature for more than two hours to avoid bacterial growth․ Proper handling ensures a safe and enjoyable dining experience․
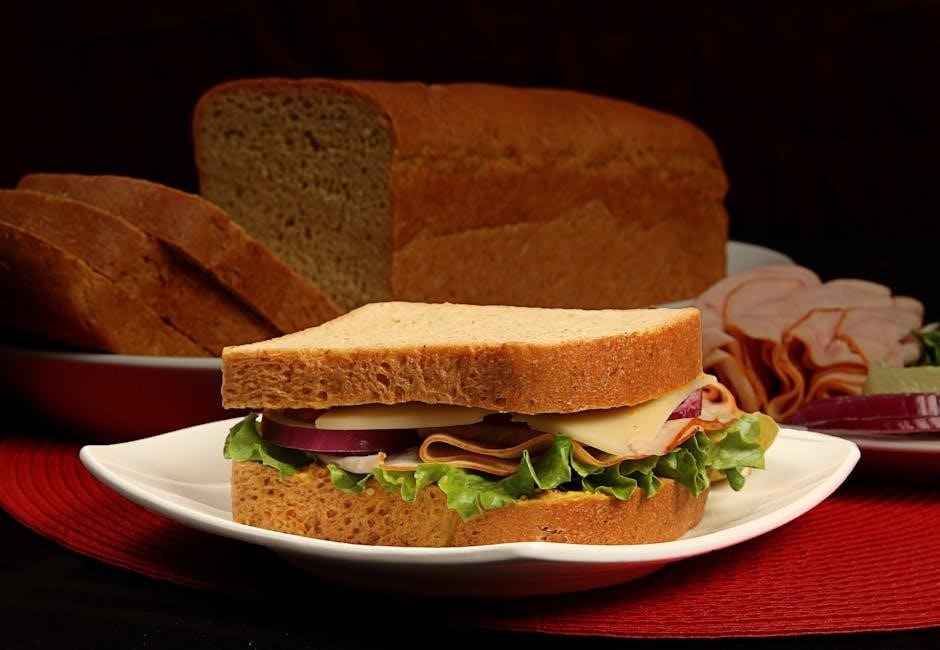
Serving Suggestions
Serve the ham alongside classic sides like mashed potatoes and roasted vegetables for a hearty meal․ Garnish with pineapple slices and cherries for a decorative touch․
Pairing with Side Dishes
Serve the ham with classic sides like mashed potatoes‚ roasted vegetables‚ or a fresh salad for a balanced meal․ Pairing it with pineapple slices or cherries adds a sweet contrast to the savory ham․ Consider accompanying it with glazed carrots‚ green beans‚ or scalloped potatoes for a hearty and flavorful presentation․ These sides complement the ham’s rich flavor‚ creating a delightful dining experience․ Ensure the meal is well-rounded and visually appealing for your guests․
Garnishing the Ham
Garnish the ham with fresh herbs like rosemary or thyme for a fragrant and elegant look․ Arrange pineapple slices and cherries around the ham‚ securing them with toothpicks if needed․ A drizzle of glaze over the top adds a shiny finish and enhances the presentation․ You can also sprinkle brown sugar or cinnamon around the edges for extra color and flavor․ These simple touches make the ham a centerpiece of your meal‚ appealing to both the eyes and the taste buds․