Flipper TV Remote Manual: A Comprehensive Guide
Welcome! This guide details programming your Flipper remote, starting with your TV before the STB. AlzProducts support links are included for assistance, ensuring a smooth setup experience.
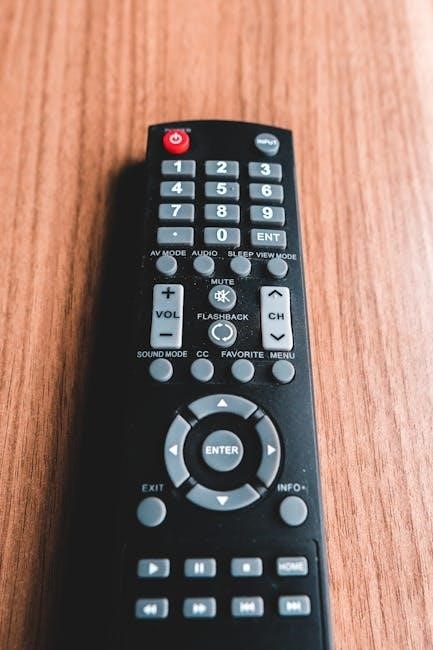
The Flipper remote is a universal remote control designed for ease of use and broad compatibility with a wide range of televisions (TVs) and set-top boxes (STBs). This manual provides a comprehensive guide to programming and utilizing its features, ensuring a seamless control experience for your home entertainment system.
Before diving into the specifics, it’s crucial to understand that the initial setup process focuses solely on programming the Flipper to control your TV. Do not attempt to program your STB until successful TV control is established. This sequential approach simplifies troubleshooting and ensures a stable foundation for complete device management.
The Flipper boasts multiple programming methods, including direct code entry and an automatic code search utilizing a vast library of preset codes. Furthermore, it offers a powerful learning function, allowing it to replicate signals from your existing remotes. This manual will detail each method, providing step-by-step instructions and helpful tips. Remember to consult AlzProducts’ resources for additional support and video tutorials.
Understanding the Basics: TV vs. STB Mode
The Flipper remote operates in two primary modes: TV mode and Set-Top Box (STB) mode. These modes dictate which device the remote’s commands are directed towards. Correctly identifying and switching between these modes is fundamental to successful operation.
When you first begin, the Flipper is ready for TV programming. The remote distinguishes between modes via dedicated buttons labeled “TV” and “STB”. Pressing the “TV” button prepares the Flipper to control your television, while pressing “STB” configures it for your cable or satellite box. The indicator light will blink once when selecting TV mode.
After programming for TV, you’ll switch to STB mode to control your set-top box. Remember, successful TV programming is a prerequisite. The light will blink once when selecting TV mode and will blink when selecting STB mode. Testing after each mode switch – verifying on/off and channel control – is vital. Understanding this distinction ensures accurate command transmission and a frustration-free user experience.
Initial Setup: Programming the Flipper for Your TV
Before controlling your Set-Top Box (STB), successfully programming the Flipper for your TV is crucial. Begin by ensuring the Flipper is in TV mode – press the “TV” button until the indicator light blinks once. You can then proceed with either code entry or automatic code search, the two primary programming methods.
Code entry, the preferred method, requires knowing your TV manufacturer’s code. If you have this information, enter the code using the number buttons. The Flipper will acknowledge acceptance with a light flash. If unsuccessful, try alternative codes for your brand.
Alternatively, utilize the automatic code search. The Flipper cycles through preset codes, and you test functionality (on/off, volume) after each attempt. This process continues until your TV responds. Remember to test after each code attempt. Successful programming is indicated by the TV responding to the Flipper’s commands.
Code Entry Method: Preferred Setup
Code entry is the recommended method for programming your Flipper remote due to its precision and efficiency. This approach requires knowing the specific code associated with your television manufacturer. Locate this code – often available online or in your TV’s documentation – and prepare to input it using the Flipper’s number pad.

First, ensure the Flipper is in TV mode by pressing the “TV” button until the light blinks once. Then, carefully enter the code. The Flipper will signal acceptance with a light flash. If the code doesn’t work, don’t be discouraged! Many manufacturers have multiple codes.
Systematically try alternative codes for your TV brand. After each attempt, test the power and volume functions to confirm successful programming. This method avoids the potentially lengthy process of automatic code searching, offering a quicker solution when the correct code is known.
Automatic Code Search: Utilizing Preset Codes

The Flipper remote boasts a vast library of preset codes for numerous TV and STB brands, enabling automatic code searching. Begin by pressing and releasing the “TV” button; the indicator light will blink once. This confirms you’re in TV mode, ready to initiate the search.
Next, repeatedly press the “CH” (Channel) button. With each press, the Flipper cycles through its stored codes, attempting to find a match for your television. Crucially, after each press of the “CH” button, test the power (on/off) and volume controls.
If your TV responds, you’ve found the correct code! Stop pressing “CH” immediately. If, after cycling through a substantial number of codes, your TV remains unresponsive, it’s likely your brand isn’t included, or a different code is required. Consider the code entry method as an alternative.
Learning Function Signals from Existing Remotes
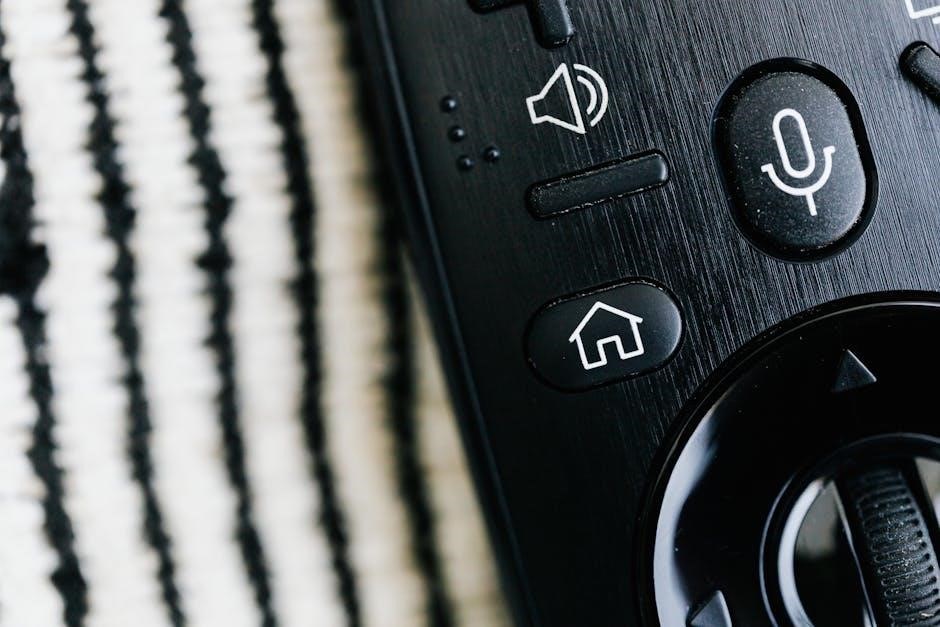
The Flipper remote excels in its ability to learn signals directly from your existing remote controls, offering a solution when preset codes fail. This “learning” function allows the Flipper to mimic the commands of your original remote, regardless of brand or model. To begin, ensure the Flipper is in either ADD or STB mode. The indicator light will flash once, then become solid, signifying readiness.
Enter the code “956” – the light will then flash twice, confirming entry into learning mode. Next, check if you are currently in Favorites mode or regular mode. If in Favorites, you must exit it first. Press and hold the “DEL” and “Dash” buttons simultaneously until the light flashes twice and then turns off. This action prepares the Flipper to receive signals from your existing remote.
Step-by-Step Learning Process
With the Flipper in learning mode (light flashing twice after entering “956” and exiting Favorites if needed), position your original remote approximately 1-3 inches away, facing the Flipper’s infrared (IR) emitter. Press and hold the button on your original remote that you wish to teach the Flipper. Simultaneously, press and hold the corresponding button on the Flipper that you want to assign that function to.
The Flipper’s light will initially flash, then turn solid once it has successfully learned the signal. Repeat this process for each button you want to copy. Remember to maintain the correct distance and alignment between the remotes. If the learning fails (light doesn’t turn solid), repeat the process, ensuring a stable signal transmission. After learning all desired functions, press the “ADD” or “STB” button again to exit learning mode.
ADD Mode: Switching Between Devices
The ADD mode on your Flipper remote allows seamless switching between controlling your TV and your Set-Top Box (STB). To activate Dual Mode, simply press and release the “ADD” button once. The light on the Flipper will blink, indicating it’s now ready to operate either device. After pressing “ADD”, thoroughly test all the keys on the Flipper to confirm they are functioning correctly for your currently selected device.

If the keys don’t correspond to the correct functions, press “ADD” again to switch to the other device and retest. This iterative process ensures proper control. Remember, the Flipper is preset for many TVs and STBs, but ADD mode is crucial for confirming and adjusting functionality. Once satisfied with the operation for both devices, you can proceed to customize your experience with Favorites mode, if desired, as detailed in the manual.
Favorites Mode: Customizing Your Experience
Favorites mode allows you to tailor the Flipper remote’s functionality to your most frequently used commands, streamlining your viewing experience. Before entering Favorites mode, ensure the Flipper is correctly programmed for both your TV and STB. To toggle between regular mode and Favorites mode, press and hold both the “DEL” and “Dash” buttons simultaneously. The light will flash twice and then turn off, indicating a successful mode switch.
Within Favorites mode, the Flipper retains the programmed functions for both TV and STB, but prioritizes quick access to your preferred settings. Remember to test all keys after switching modes to confirm functionality. If you wish to revert to regular mode, simply repeat the process of pressing and holding “DEL” and “Dash” until the light flashes twice and turns off. This provides flexible control, adapting the Flipper to your individual needs.
Entering and Exiting Favorites Mode
Accessing Favorites mode on your Flipper remote is straightforward, offering a personalized control experience. First, verify your Flipper is programmed for both TV and STB operation; this is crucial for seamless functionality. To enter Favorites mode, simultaneously press and hold the “DEL” and “Dash” buttons. Watch for the indicator light – it will flash twice and then extinguish, confirming activation.
To exit Favorites mode and return to standard operation, repeat the same process: press and hold both the “DEL” and “Dash” buttons. Again, the light will flash twice before turning off, signaling your return to regular mode. Remember to test key functions after each mode switch to ensure everything operates as expected. This simple procedure allows you to quickly adapt the Flipper to your viewing preferences, providing a customized remote experience.
Troubleshooting: If Your Devices Don’t Respond
If your TV or STB isn’t responding after programming the Flipper remote, systematic troubleshooting is key. Begin by verifying you’ve successfully programmed the Flipper for your TV first, before attempting STB setup. Then, test the basic functions: press the power button and observe if the device turns on/off. Next, check the volume controls – do they adjust the sound?
If these fail, try the automatic code search again, ensuring you’re selecting the correct device type (TV or STB). Press and release “TV”, then test on/off and volume. Repeat with “STB”, testing power and channel controls. If still unsuccessful, consider the learning function, copying signals from your original remote. Remember to check if you are accidentally in Favorites mode; exit it using the DEL and Dash buttons. Consult AlzProducts support resources for specific model assistance.
Testing On/Off and Volume Controls
After initial programming, rigorously test the fundamental functions of your TV with the Flipper remote. Begin by pressing the power button – does your TV reliably turn on and off? If not, revisit the code entry or automatic code search steps, ensuring the correct code has been inputted or selected. Next, focus on volume control. Repeatedly press the volume up and down buttons; does the sound adjust accordingly and smoothly?
These initial tests are crucial for verifying successful programming. If either power or volume functions are unresponsive, don’t proceed to more complex features. Double-check you’re in regular mode, not Favorites mode, as this can affect functionality. Remember to press and release the “TV” button first, then test these controls. If issues persist, explore AlzProducts’ support materials for targeted troubleshooting guidance.
Channel Control Verification
Once power and volume are confirmed working, proceed to verify channel control functionality. After pressing and releasing the “TV” button (ensuring the light blinks once), use the channel up and channel down buttons to navigate through available channels on your television. Observe if the channel changes are accurate and responsive – does each press correspond to the next channel in your lineup?
Pay attention to any delays or erratic behavior. If the channel changes are incorrect or the remote doesn’t respond, revisit the programming steps. Ensure you haven’t accidentally entered STB mode; press “STB” to test, then return to “TV”. Consult AlzProducts’ resources if channel control remains problematic. Accurate channel navigation is vital for a complete Flipper remote experience, so thorough testing is essential before moving on.
Dual Mode Operation Explained
The Flipper remote offers a “Dual Mode” allowing control of both your TV and Set-Top Box (STB) with a single device. To activate Dual Mode, press and release the “ADD” button once. This switches the remote’s functionality, enabling it to send signals for either device depending on the button pressed.
After activating Dual Mode, meticulously test all keys. Confirm that TV-specific functions (power, volume, channel) operate correctly when the remote is in TV mode, and that STB functions work seamlessly when the remote is set to STB mode. If any keys are unresponsive, re-enter the appropriate codes or utilize the learning function. Remember to explore “Favorites” mode for personalized button configurations. Proper Dual Mode setup maximizes the Flipper’s versatility, streamlining your entertainment control.
Using the DEL and Dash Buttons
The “DEL” and “Dash” (-) buttons on your Flipper remote serve a crucial function: toggling between regular mode and “Favorites” mode. To enter or exit Favorites mode, simply press and hold both the “DEL” and “Dash” buttons simultaneously. Continue holding until the indicator light flashes twice and then turns off – this confirms the mode change.
This action is essential for customizing your remote’s functionality. Favorites mode allows you to assign specific functions to buttons, tailoring the remote to your viewing preferences. Remember to utilize this feature after successfully programming both your TV and STB. Regularly checking your current mode ensures optimal performance. If the light doesn’t respond as described, double-check the button press and hold duration.
Specific Support Resources: AlzProducts Links
For comprehensive assistance with your Flipper TV remote, AlzProducts offers a wealth of resources designed to guide you through every step of the setup and operation process. Their website features detailed articles, frequently updated to address common issues and new features. You’ll find step-by-step instructions for programming, troubleshooting, and maximizing your remote’s capabilities.
Beyond written guides, AlzProducts provides helpful video tutorials demonstrating key functions, like code entry and the learning function. These visual aids can be particularly useful for those who prefer a more hands-on learning approach. Links to these resources are readily available on their support pages, ensuring quick access to the information you need. Don’t hesitate to explore AlzProducts’ offerings – they are a valuable partner in your Flipper remote journey.
Advanced Features: Beyond Basic Control
The Flipper remote extends beyond simple TV and STB control, offering surprising versatility. Notably, recent online discussions highlight an unexpected connection with Visual Studio Code, a popular code editor for developers on macOS, Linux, and Windows. While the nature of this link isn’t fully explained in the core manual, it suggests potential for custom scripting or integration – a topic for advanced users to explore.
Furthermore, maintaining optimal performance requires regular firmware updates. These updates, available through the manufacturer, introduce new features, improve compatibility, and address potential bugs. Staying current with firmware ensures your Flipper remote operates at its peak. Exploring these advanced aspects unlocks the full potential of your device, transforming it from a simple remote into a customizable control hub.
Flipper Remote and Visual Studio Code (Unexpected Connection ⎼ Addressing Online Information)
Recent online reports have surfaced discussing a connection between the Flipper remote and Visual Studio Code (VS Code), a widely-used source code editor. This link, observed as early as April 2026, is currently unexplained within official documentation. VS Code, available across macOS, Linux, and Windows, is a powerful tool for developers, offering features like AI-powered suggestions and intelligent code completion.
Users have noted that updates to VS Code, particularly those released in April and March 2026, seem to coincide with unusual activity detectable by the Flipper remote. While the exact mechanism remains unclear – potentially involving debugging tools or terminal interactions – it’s crucial to understand this isn’t a documented feature. It’s speculated that advanced users might be exploring custom integrations, but caution is advised. Further investigation is needed to fully understand this unexpected relationship.

Updating the Flipper Remote Firmware
Maintaining up-to-date firmware is crucial for optimal Flipper remote performance and access to the latest features and bug fixes. While specific update procedures aren’t detailed in the initial setup guide, regularly checking for updates is recommended. The process typically involves connecting the Flipper remote to a computer via USB and utilizing dedicated software provided by AlzProducts.
Before initiating an update, ensure the Flipper remote has sufficient battery life to prevent interruption. The update software will guide you through the process, displaying progress and verifying the integrity of the new firmware. It’s vital to follow the on-screen instructions carefully. Interrupting the update process could potentially render the device unusable. Always download firmware updates directly from the official AlzProducts website to avoid security risks associated with unofficial sources.
Frequently Asked Questions (FAQ)
Q: My Flipper isn’t responding to my TV, what should I do? First, re-verify the code entry or automatic code search process. Ensure you’re in TV mode, not STB. Test both On/Off and Volume controls. If still unsuccessful, repeat the programming steps carefully.
Q: Can the Flipper control devices other than TVs and STBs? The Flipper’s learning function allows copying signals from existing remotes, potentially controlling other devices. However, compatibility isn’t guaranteed.
Q: What does the DEL and Dash button combination do? Pressing and holding DEL and Dash switches between regular and Favorites mode. The light will flash twice and turn off, indicating a successful mode change.
Q: Where can I find more detailed support? Visit AlzProducts’ website for comprehensive articles, videos, and troubleshooting guides. Their resources offer step-by-step assistance for various scenarios.